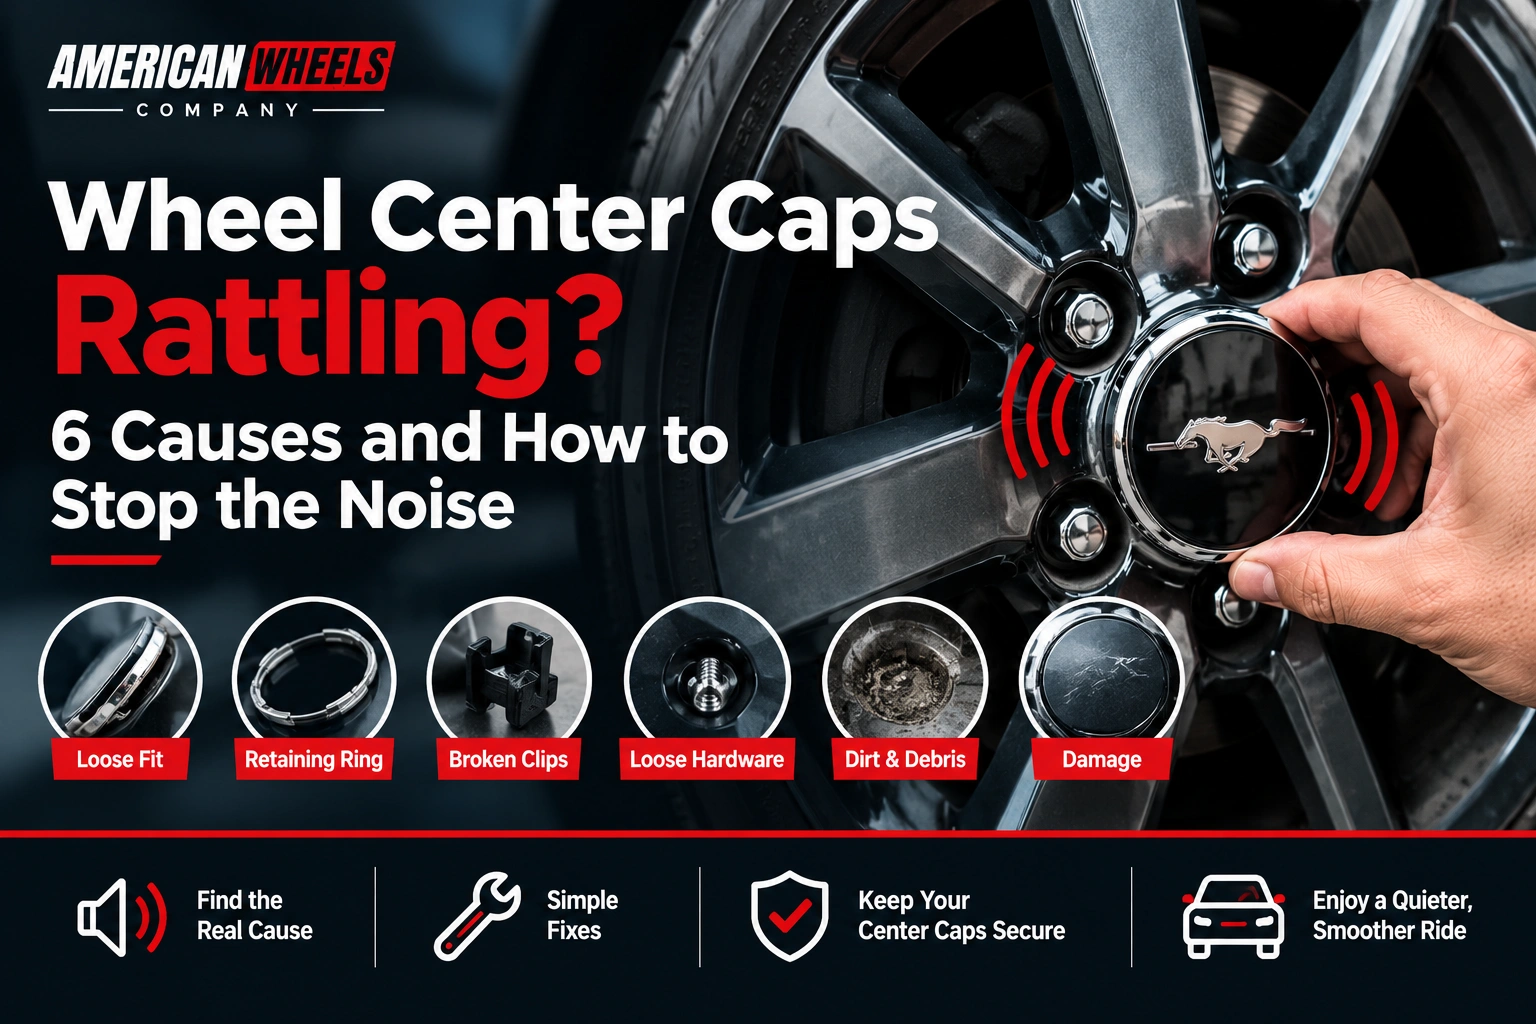
Wheel center caps rattling is often caused by a loose fit, a weak retaining ring, broken clips, or loose cap hardware. Dirt, damage, or a worn wheel mounting area can also create noise. Start by checking whether the cap is sitting securely. If it is loose or partly detached, do not keep driving until it has been inspected and secured.
A small rattle can become annoying fast, especially when it happens over bumps or gets louder as you drive. The good news is that you can often narrow down the cause by checking the cap’s fit and mounting parts.
At American Wheels Company, we know that finding the correct cap is about more than appearance. Our range of wheel center caps for different vehicles and wheel styles can help you find a suitable replacement when the original cap is damaged or no longer fits correctly.
Before buying a new cap, use this guide to identify the noise, check the common causes, and choose the right fix.
Why Is My Wheel Center Caps Rattling?
A wheel center cap rattles when it moves against the wheel or another part instead of staying firmly in place. The most common reasons are poor fitment, damaged retaining clips, a weak tension ring, or loose hardware.
However, not every noise near a wheel comes from the center cap. Some vehicles have separate lug nut covers, larger wheel covers, or other parts that can make similar sounds.
The first step is to check the cap while the vehicle is parked safely. Look for a visible gap, a crooked fit, cracked clips, or a loose retaining ring. If the cap seems secure but the noise continues, the source may be another wheel or suspension component.
6 Common Causes of Wheel Center Cap Rattling
1. The Center Cap Is Loose or Does Not Fit Correctly
A center cap must match the wheel’s opening and mounting design. If it is too small, too large, or made for a different wheel, it may not sit firmly in place.
You may notice:
- A cap that moves when touched gently
- A visible gap around the edge
- A rattling sound over bumps
- A cap that sits unevenly
A cap may look right from the front but still have the wrong dimensions or mounting clips.
How to fix it: Check the wheel brand, model, cap part number, and mounting style. If the cap is the wrong fit, replace it with a compatible one. Do not force it into the opening.
2. The Retaining Ring Is Weak, Loose, or Missing
Some center caps use a metal tension ring or spring ring to help hold the cap in place. The ring applies pressure between the cap and the wheel.
If the ring is missing, bent, damaged, or out of position, the cap may not stay tight. This can cause movement and noise even when the front of the cap looks fine.
How to fix it: If the cap can be removed safely using the correct method, inspect the rear for a missing or damaged ring. Replace the ring only with the correct part for that cap. If you are unsure how it should sit, ask a wheel specialist to check it.
3. The Retaining Clips Are Broken or Worn
Many center caps use small clips or tabs to grip the wheel. These parts can wear out over time, especially after repeated removal and installation.
Heat, age, and impact can also make plastic clips brittle. Once a clip breaks, the cap may no longer sit evenly.
Look for:
- Cracks in the clips
- Missing or bent tabs
- A cap that comes loose too easily
- One edge that sits higher than the rest
How to fix it: Replace the cap if its clips are broken or worn beyond safe use. Avoid bending, gluing, or forcing damaged clips back into place. A temporary repair may not hold when the wheel is moving.
4. Loose Screws or Cap Hardware
Not every center cap uses the same mounting system. Some designs use screws or other hardware, while others rely on clips or a retaining ring.
If the hardware is missing, damaged, or loose, it may allow the cap to move and create a rattling sound.
Some vehicles also have separate lug nut covers. These can rattle even when the main center cap is secure.
A manufacturer service bulletin about wheel or hub-cap rattling describes loose wheel nut caps on certain Chevrolet and GMC models. It is a model-specific example, but it shows why you should check which part is actually making the noise.
How to fix it: Inspect visible hardware and check the vehicle or cap maker’s instructions. Use the correct replacement parts and tightening method. If you suspect a loose wheel fastener, do not treat it as a simple center-cap problem. Have the wheel checked before driving.
5. Dirt or Debris Is Trapped Around the Cap
Road dirt, small stones, and built-up grime may collect around the cap’s edge or mounting area. Debris can stop the cap from sitting correctly or create noise when parts touch.
This is more likely if the rattling started after driving on rough roads, working near the wheel, or cleaning the vehicle.
How to fix it: With the vehicle parked and the wheel cool, clean the visible area using a soft brush and a suitable wheel cleaner. Avoid sharp tools that can scratch the wheel or damage the cap.
If debris is trapped behind the cap, remove it only if you know the correct removal method. Otherwise, ask a qualified person to inspect and clean the mounting area.
Cleaning will not fix broken clips, a damaged ring, or a cap that does not fit the wheel.
6. The Center Cap or Wheel Mounting Area Is Damaged
A center cap can become cracked or misshapen after hitting a curb, striking road debris, or being removed incorrectly. The wheel’s cap opening or mounting surface can also become damaged.
When the cap or wheel no longer has the right shape, the cap may not sit firmly. Replacing the cap alone may not solve the problem if the wheel’s mounting area is the cause.
How to fix it: Check for cracks, dents, damaged edges, or signs of impact. Replace a damaged cap with a compatible part. If the wheel’s mounting area looks worn or damaged, have a wheel specialist inspect it before fitting another cap.
How to Stop Wheel Center Caps From Rattling
Once you have an idea of the cause, follow these steps to deal with the noise safely.
Step 1: Identify Which Part Is Making the Noise
Park on level ground, switch off the vehicle, and let the wheel cool. Check the center cap, lug nut covers, and any larger wheel cover fitted to the vehicle.
Look for a loose edge, a visible gap, broken clips, or missing hardware. Do not reach near a moving wheel or try to check the cap while driving.
If the cap is secure but you cannot find the source, have a mechanic inspect the area instead of guessing.
Step 2: Check the Cap’s Fit
A correctly fitted cap should sit as intended for that wheel. It should not be crooked, partly detached, or held in place by force.
Check the cap’s part number and mounting details if it was recently replaced. If you need to confirm the correct dimensions, follow our guide on measuring a wheel center cap before ordering a replacement.
Do not rely on the front diameter alone. The rear clips, insertion size, and wheel design may also affect fit.
Step 3: Inspect the Retaining Parts
If the cap can be removed safely, check the back for broken clips, a missing ring, or loose hardware. Use the correct removal tool and instructions for the cap.
Do not pull hard or use a screwdriver as a lever unless the manufacturer specifically approves that method. You could damage the cap or wheel.
Replace damaged retaining parts with compatible parts. If the mounting system is unclear, get help from a wheel specialist.
Step 4: Clean the Mounting Area
Remove visible dirt and debris with a soft brush and a cleaner that is safe for the wheel finish. Dry the area and check that no debris is stopping the cap from sitting correctly.
Avoid harsh chemicals, abrasive tools, and improvised fixes. Glue and tape are not reliable replacements for a proper retaining system.
Step 5: Replace Damaged or Incorrect Parts
If the clips are broken, the ring is damaged, or the cap does not match the wheel, replacing the faulty part is usually the best option.
If your wheel center caps keep coming loose or falling off, the problem may be the retaining system, fitment, or wheel mounting area rather than the cap’s front design.
Use a replacement that matches the wheel and follows the maker’s installation instructions. If the wheel itself is damaged, have it inspected before installing another cap.
Can You Drive With a Rattling Wheel Center Cap?
It depends on what is loose. A minor rattle from a decorative cap may not mean the wheel itself is unsafe, but a cap that is loose or partly detached can come off while driving.
Stop somewhere safe and check the cap if you notice it moving or hanging out of the wheel. Do not continue driving with a cap that is about to detach.
If the noise comes with wheel wobble, strong vibration, a grinding sound, or a suspected loose wheel fastener, do not assume the center cap is responsible. Arrange a prompt inspection by a qualified mechanic.
How to Prevent Wheel Center Caps From Rattling Again
A few simple habits can help prevent the same problem from returning.
- Choose the correct fit: Match the cap to the wheel’s size and mounting design.
- Install it correctly: Follow the maker’s instructions and make sure the cap sits as intended.
- Check the clips and ring: Inspect retaining parts whenever the cap is removed.
- Clean gently: Remove dirt without damaging the cap or wheel.
- Inspect after tire service: Ask the technician to check that the cap is seated securely after wheel work.
- Replace worn parts: Do not keep using a cap with broken clips or a damaged retaining ring.
If a cap starts rattling again soon after replacement, check the fit and wheel mounting area before buying another one.
Final Thoughts
Final Thoughts
If your wheel center cap is rattling, start by checking its fit, retaining ring, and clips. Replace damaged parts and make sure the cap matches your wheel. Avoid quick fixes like glue or tape, as they may not hold up to road vibration.
Need a replacement? Explore wheel center caps at American Wheels Company to find options for your wheels. Choose the correct fitment to help keep your center caps secure, quiet, and looking their best. If the noise continues or you suspect a wheel or fastener problem, have it inspected before driving again.
FAQs About Wheel Center Cap Rattling
Why does my wheel center cap rattle while driving?
A center cap may rattle because it is loose, incorrectly fitted, or held by damaged clips or a weak retaining ring. Check the cap while parked. If it is secure but the noise continues, have the wheel area inspected for another source.
How do I stop a loose wheel center cap from rattling?
First, check whether the cap matches the wheel and sits correctly. Inspect the retaining ring, clips, and hardware for damage. Replace faulty parts instead of relying on glue, tape, or forced clips to hold the cap.
Can a missing retaining ring cause center cap noise?
Yes. On caps that use a retaining ring, a missing or damaged ring can reduce the holding force and allow the cap to move. Check the cap’s design and fit the correct replacement ring if needed.
Why does my center cap rattle over bumps?
A loose cap, worn clips, or a weak retaining ring may allow movement when the wheel hits bumps. However, suspension and other wheel-area parts can also make noise. If the cap looks secure, have the vehicle checked rather than assuming it is the cause.
Should I use glue or tape to stop a center cap from rattling?
No. Glue and tape are not reliable substitutes for the cap’s proper mounting system. They may fail with heat, water, and road vibration. Find the cause and replace the damaged or incorrect part.
How do I know if my wheel center cap needs replacing?
Replace the cap if its clips are broken, the body is cracked, or it no longer fits securely. If the wheel’s mounting area is damaged, a new cap alone may not solve the issue. Have the wheel checked before fitting a replacement.