
Can You Paint Wheel Center Caps? A Step-by-Step DIY Guide

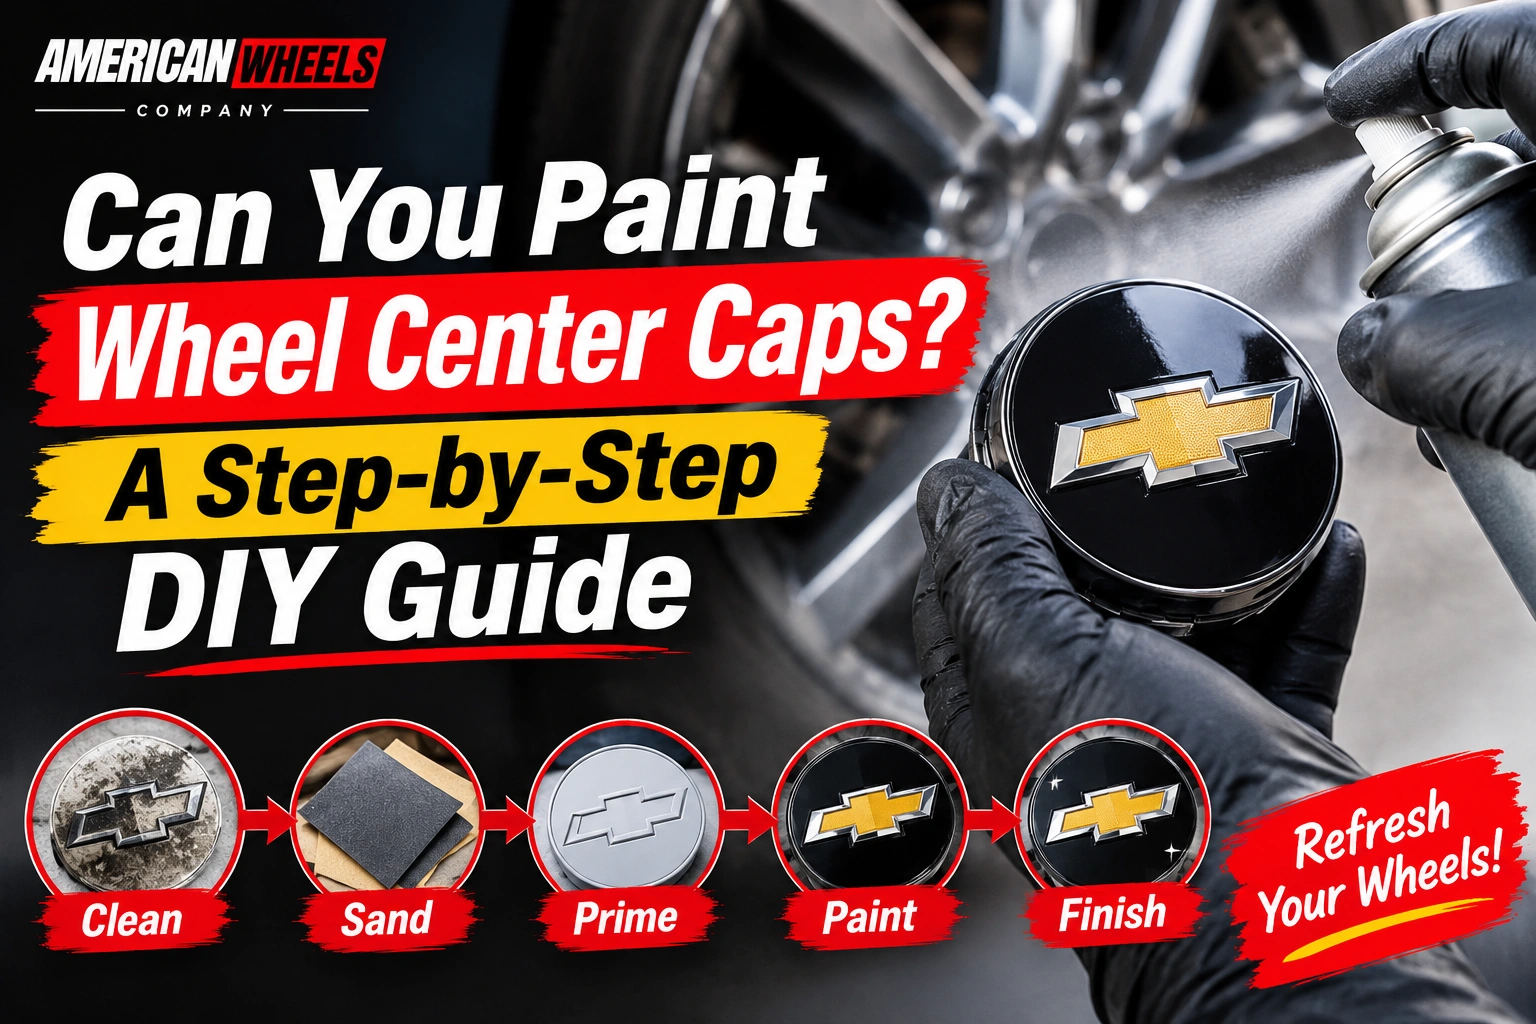
Yes, you can paint wheel center caps to refresh their look, change their color, or cover faded and scratched areas. The key is to use paint made for the cap’s material and prepare the surface properly. Plastic and metal caps may need different primers and paint products. If your cap is cracked, badly damaged, or has broken mounting clips, buying a replacement may be a better investment.
A fresh coat of paint can make old wheel caps look better without the cost of replacing every cap. But a poor paint job can peel, chip, or look uneven after a short time. That is why cleaning, surface preparation, and the right paint matter.
At American Wheels Company, you can explore replacement options if your current caps are too worn or damaged to restore. You can also compare different styles and sizes before deciding whether to paint or replace them.
In this guide, you will learn how to paint wheel center caps, what supplies you need, how to avoid common mistakes, and when buying new caps makes more sense.
Is It Worth Painting Wheel Center Caps?
Painting can be a good choice when your existing caps are still in good condition. It gives you a way to change their appearance without replacing parts that already fit your wheels.
Painting may be worth it if:
- Your caps have faded from sun exposure.
- The finish has light scratches or small marks.
- You want black, silver, or another color.
- The cap is structurally sound.
- The mounting clips and rear section are still in good condition.
However, painting will not fix broken clips, cracks, or poor fitment. It only changes the surface finish.
If your caps are loose, damaged, or missing parts, compare the cost of painting with the price of a suitable replacement. Browse our range of wheel center caps in different styles and sizes before spending money on a cap that may need replacing anyway.
What You Need to Paint Wheel Center Caps
Before starting, gather the right materials. The exact products depend on whether your caps are plastic or metal.
| Supply | Purpose |
| Mild soap and water | Removes dirt and road grime |
| Clean microfiber cloths | Dries and wipes the surface |
| Suitable degreaser | Removes oil, wax, and grease |
| Fine sandpaper | Helps prepare a glossy or uneven surface |
| Plastic adhesion promoter or suitable primer | Helps paint bond to compatible surfaces |
| Automotive paint for the cap material | Provides the new color |
| Compatible clear coat | Adds a protective finish when recommended by the paint system |
| Masking tape | Protects areas that should not be painted |
| Gloves and eye protection | Helps protect you while working |
Choose products that are made for the material of your center caps. For example, plastic caps may need a plastic-specific paint or adhesion promoter. Metal caps may need a primer suitable for the type of metal and existing finish.
Do not assume that one spray paint works on every center cap.
How to Paint Wheel Center Caps: Step-by-Step Guide
Follow these steps to get a cleaner finish. Always read the instructions on your paint and primer before applying them.
Step 1: Remove the Center Caps
Remove the center caps from the wheels if the design allows safe removal. Follow the vehicle or wheel manufacturer’s instructions.
Painting caps while they are still installed can leave paint on the wheel, tire, or other nearby parts. It also makes it harder to reach the edges and back of the cap.
Place the removed caps on a clean work surface. Keep track of any separate clips, rings, or small parts.
Important: Do not force a cap out of the wheel. If it is difficult to remove, check the correct removal method first.
Step 2: Clean the Surface
Wash each cap with mild soap and water to remove dirt and road grime. Rinse it well and let it dry.
Next, use a cleaner that is safe for the cap’s material to remove remaining grease, wax, and other contaminants. Follow the cleaner’s instructions and allow the surface to dry fully.
Paint may not stick well to a dirty or oily surface. Even small amounts of grease can affect the final result.
Step 3: Check the Cap for Damage
Before sanding or painting, inspect the front and back of each cap.
Look for:
- Cracks in the cap body.
- Broken or missing retaining clips.
- Bent or damaged metal parts.
- Deep scratches.
- Loose logos or decorative pieces.
- Signs of poor fitment.
Do not paint over serious damage. A new finish will not make a cracked cap secure.
If the retaining clips are broken, read our guide on whether to repair or replace damaged center cap clips. Fix the mounting problem before using the cap again.
Step 4: Prepare the Surface
Lightly prepare the surface if the paint manufacturer’s instructions call for it. This may involve sanding glossy areas or removing loose, peeling paint.
Use a suitable abrasive for the cap material. Avoid sanding too deeply, especially around logos, thin edges, and decorative details.
After sanding, remove all dust with a clean cloth. The surface should be clean, dry, and ready for the selected primer or paint.
Do not sand the rear clips or mounting areas unless the product instructions specifically require it. Changing their shape can affect how the cap fits.
Step 5: Apply the Correct Primer
The primer depends on the material.
For compatible plastic surfaces, a plastic primer or adhesion promoter can help the paint bond. For metal caps, use a primer suitable for the metal and existing finish.
For example, Rust-Oleum Automotive Adhesion Promoter is designed to help topcoats adhere to certain automotive plastics, vinyl, trim, and fiberglass surfaces.
Not every plastic needs the same treatment. Check the product label to confirm that it is suitable for your cap. Follow the stated application and recoat times.
Step 6: Apply the Paint
Choose an automotive paint that is compatible with the cap material and primer.
Before painting, protect the areas that should not receive paint. These may include:
- The rear mounting clips.
- Retaining rings and contact points.
- Moving parts.
- Decorative sections that should keep their original finish.
- Any surface where paint could affect fitment.
Apply light, even coats according to the paint manufacturer’s instructions. Keep the spray can or applicator moving to avoid heavy spots and runs.
Do not try to cover the entire surface with one thick coat. Allow the required time between coats.
For plastic caps, Rust-Oleum Automotive Paint for Plastic provides product-specific guidance on surface preparation, application, and drying. Check its instructions and confirm compatibility with your cap before use.
Step 7: Apply a Compatible Clear Coat
A clear coat may help protect the new finish, but it is not suitable for every paint system.
If the paint manufacturer recommends a clear coat, use one that is compatible with the color coat. Follow the required timing between coats and the full curing instructions.
Do not apply a random clear coat over fresh paint. Incompatible products can cause poor adhesion, wrinkling, or other finish problems.
Step 8: Let the Caps Cure Before Reinstalling
Touch-dry does not always mean fully cured. Give the paint the full curing time stated on the product label.
Once the finish is ready, inspect each cap. Make sure the paint is even and that no mounting clips or contact areas have been covered.
Reinstall the caps only when the paint is fully ready for handling and the cap still fits correctly. Follow the wheel or cap manufacturer’s installation instructions.
What Is the Best Paint for Wheel Center Caps?
The best paint depends on the material and the finish you want. There is no single paint that works equally well on every plastic and metal center cap.
| Center cap material | What to look for |
| Plastic | Paint made for automotive plastic or a compatible plastic primer and topcoat |
| Metal | Automotive paint and primer suitable for the specific metal |
| Chrome-finished cap | A coating system designed for the surface; test compatibility first |
| Previously painted cap | A compatible system that can be applied over the existing finish after proper preparation |
Best Paint for Plastic Wheel Center Caps
Plastic caps need special attention because some plastics are harder to paint than others. Polyolefin plastics, for example, may need an adhesion promoter to help the paint bond.
Check the material and the paint manufacturer’s instructions before starting. If you cannot identify the plastic, test the product on a hidden area when possible.
Best Paint for Metal Wheel Center Caps
Metal caps need a paint system that matches the metal and existing surface finish. Remove loose paint and rust where appropriate, prepare the surface, and use a suitable primer if required.
If the cap has a chrome or polished finish, ordinary paint may not bond as expected. Check the coating manufacturer’s guidance before applying anything.
Common Mistakes to Avoid When Painting Wheel Center Caps
A few mistakes can ruin the finish or affect how the cap fits.
- Skipping cleaning: Dirt, grease, and wax can stop paint from bonding properly.
- Using the wrong paint: A product made for one surface may not work on another.
- Applying thick coats: Heavy paint can run and create an uneven finish.
- Painting the mounting clips: Paint buildup may affect how the cap locks into the wheel.
- Ignoring cracks: Paint cannot repair broken or weak plastic.
- Reinstalling too early: Handling uncured paint can leave marks or damage the finish.
- Using incompatible products: Primer, paint, and clear coat should work together.
If your center caps are rattling or moving after installation, the problem may be fitment rather than paint. Read our guide to checking why wheel center caps make a rattling noise.
Should You Paint or Replace Wheel Center Caps?
Painting is not always the best choice. Sometimes buying a replacement cap saves time and gives you a cleaner result.
| Situation | Better option |
| Light fading or small surface scratches | Painting may be suitable |
| You want a different color | Painting may be suitable if the cap is in good condition |
| Broken mounting clips | Replace the cap or the correct replaceable parts |
| Cracked or badly damaged cap | Replace the complete cap |
| Peeling finish across the surface | Compare refinishing cost with replacement |
| You want a different design or logo | Buy a replacement cap |
| Wrong size or loose fit | Find a cap that matches the wheel |
When Painting Makes More Sense
Choose DIY painting when the cap is structurally sound, fits correctly, and only needs a new finish.
It may be a practical way to refresh a set of caps without buying new ones. Just remember to include the cost of paint, primer, preparation materials, and your time.
When Buying Replacement Center Caps Is Better
Replacement makes more sense when the cap has broken clips, cracks, deep damage, or a finish that is too worn to restore.
It is also the better choice if you want a different style or need a cap that matches a specific wheel.
For example, if your wheels use a compatible Maybach-style design, you can check the 146mm black Mercedes-Benz Maybach wheel center cap.
For a different wheel setup, see the 153mm 2Crave wheel center cap.
These are specific product examples, not universal replacements. Check the wheel brand, cap measurements, mounting design, and product details before ordering.
How to Keep Painted Wheel Center Caps Looking Good
After painting, proper care can help maintain the finish.
- Use mild cleaning products that are safe for the paint.
- Avoid harsh chemicals unless the coating manufacturer approves them.
- Do not scrub the finish with rough tools.
- Let the paint complete its full cure before regular cleaning.
- Check the caps during routine wheel inspections.
- Replace a cap if its clips or mounting area become damaged.
Also check that each cap remains secure after installation. If a cap starts coming loose, do not keep driving with an uncertain fit. Read our guide on how to stop wheel center caps from falling off.
Final Thoughts: Refresh Your Caps or Choose a Replacement
Painting wheel center caps can be a useful DIY project when the caps are still strong and fit your wheels correctly. With the right surface preparation, compatible paint, and enough curing time, you can give faded or scratched caps a fresh look.
But paint will not fix broken clips, cracks, or incorrect fitment. If your caps are badly damaged or you want a different design, replacing them may be the smarter choice.
Ready for a new look? Explore the wheel center cap collection at American Wheels Company and compare replacement options for your wheels. Check the measurements and mounting style before ordering so you can choose a cap that fits correctly.
Frequently Asked Questions
Can you paint wheel center caps?
Yes. You can paint many plastic and metal wheel center caps if the surface is in good condition and you use products made for the material. Clean and prepare the cap first, then follow the paint manufacturer’s instructions.
What is the best paint for wheel center caps?
The best paint depends on whether the cap is plastic or metal. Look for automotive paint designed for that material. Some plastic caps also need a compatible adhesion promoter or primer.
Can you spray paint plastic wheel center caps?
Yes, if the spray paint is suitable for the type of plastic. Clean the cap, prepare the surface as directed, and use a compatible primer or adhesion promoter when required.
Do you need primer before painting wheel center caps?
Not always. Some paints made for plastic do not require a separate primer, while other paint systems need an adhesion promoter or suitable primer. Follow the product instructions for your cap’s material.
How many coats of paint should I use on wheel center caps?
The number of coats depends on the paint product and the finish you want. Light, even coats are generally better than one thick coat. Follow the manufacturer’s directions for coat thickness and drying time.
Can you paint chrome wheel center caps black?
It may be possible, but chrome surfaces can be difficult to paint. The surface needs a compatible preparation and coating system. Test the products first and follow the manufacturer’s instructions.
How long should painted wheel center caps dry before installation?
Use the full handling and curing times stated on the paint label. Paint that feels dry to the touch may still need more time before it can handle contact and installation.
Should I paint or replace scratched wheel center caps?
Light scratches may be suitable for refinishing if the cap is otherwise in good condition. Deep damage, cracks, broken clips, or poor fitment are stronger reasons to replace the cap.
Where can I buy replacement wheel center caps?
You can browse wheel center caps at American Wheels Company. Compare the diameter, mounting design, wheel brand, and product details to find a suitable match.