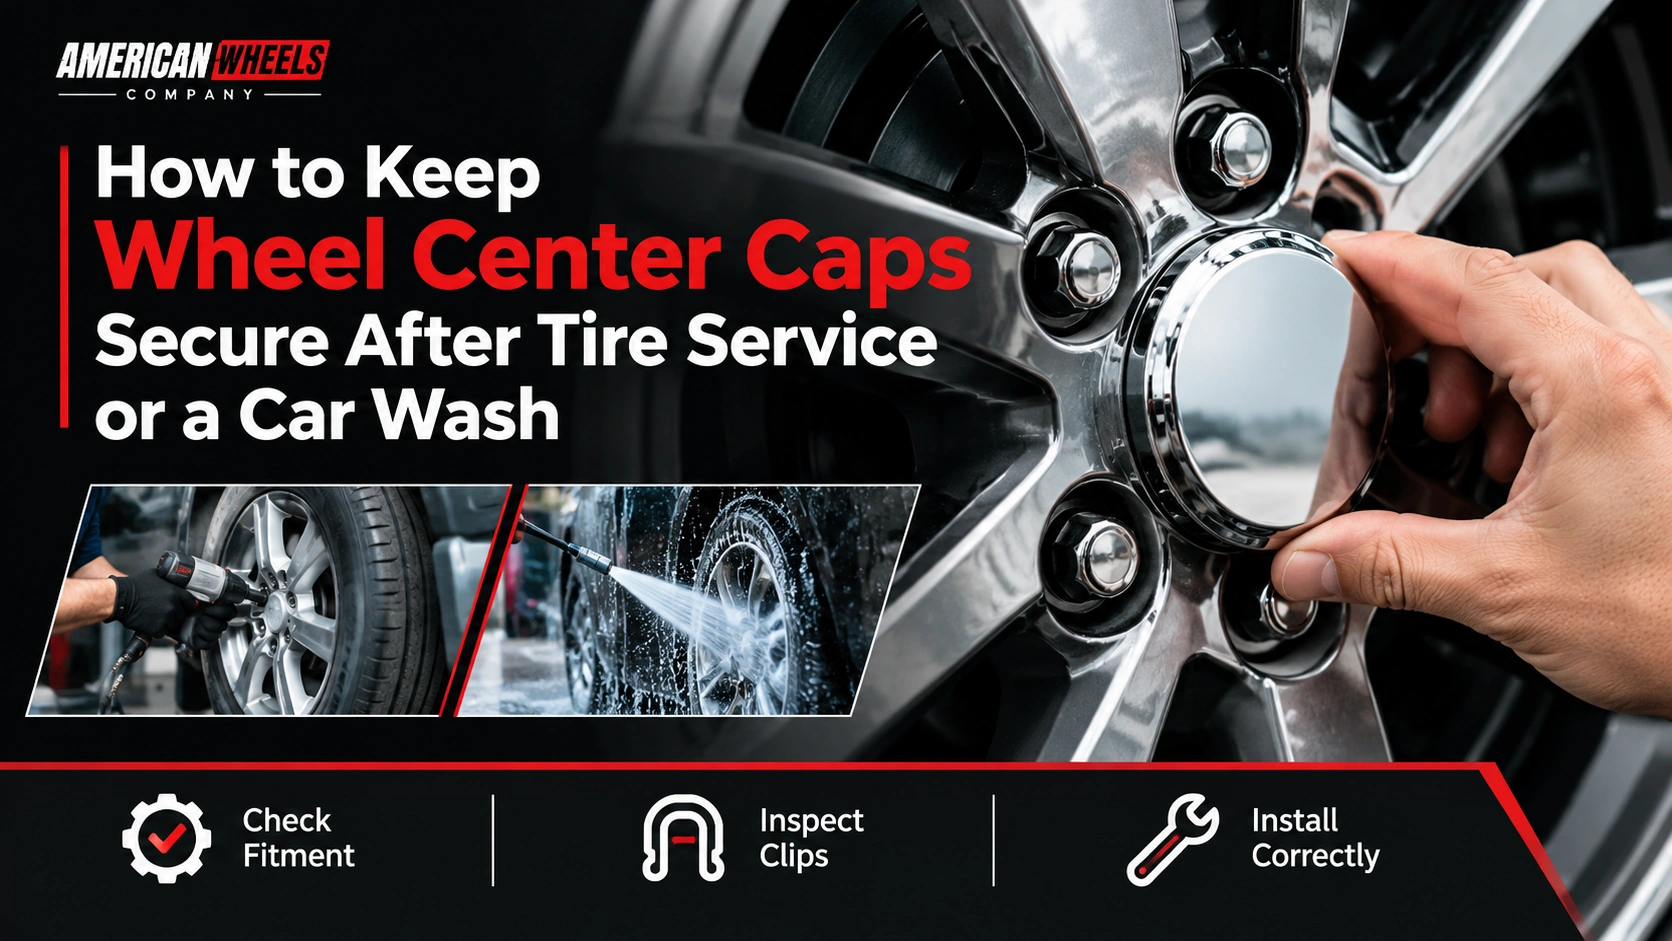
To keep wheel center caps from falling off, check that each cap is the correct fit, its retaining clips or locking parts are in good condition, and it is fully seated after tire service or a car wash. Ask the tire shop to check the caps before you leave, and inspect them yourself after cleaning. If a cap feels loose, fix the cause before driving.
A missing center cap after a tire change or wash is frustrating, especially when it was secure before. The good news is that you can often prevent it by checking a few simple things. The key is to make sure the cap fits the wheel and its mounting system is working properly.
Why Do Wheel Center Caps Come Loose After Tire Service or a Car Wash?
Wheel center caps can loosen when they are removed and installed incorrectly, when their retaining parts are damaged, or when the cap does not match the wheel. A strong stream of water may expose an already loose cap, but it is not always the main cause.
Here are the most common reasons:
Cause
What to check
Incorrect installation
The cap sits unevenly or is not fully seated
Damaged retaining clips
Broken, cracked, or bent clips
Loose tension ring
Missing, bent, or incorrectly positioned ring
Wrong replacement cap
Incorrect size or mounting style
Dirt around the mounting area
Debris prevents the cap from sitting correctly
Wheel damage
Worn or damaged cap-retaining surface
Repeated removal
Clips or other retaining parts have weakened
If your cap was secure before a tire change, ask whether it was removed during the service. If it came loose after a car wash, inspect the cap instead of assuming the water pressure alone caused the problem.
How to Keep Wheel Center Caps Secure After Tire Service
A few quick checks can help you catch a loose cap before it disappears on the road.
1. Ask the Tire Shop to Check Every Center Cap
Tire service may involve removing wheels, which can require removing or disturbing some center caps. Ask the technician to check that each cap is installed correctly before returning the vehicle.
Before leaving the shop, look at each wheel and confirm that:
The cap sits evenly and does not stick out on one side.
No clips, tabs, or retaining parts are visibly damaged.
The cap matches the wheel’s mounting design.
There is no obvious movement or looseness.
Do not rely only on a quick look at the front. A cap can look fine while its retaining parts are damaged.
2. Make Sure the Cap Is Fully Seated
A cap that is only partly installed may work its way out while driving.
For a typical snap-in cap, align it with the wheel opening and apply even pressure as directed by the manufacturer. It should sit correctly without excessive force.
Do not hit the cap hard or force it into an opening that seems too small. Doing so may break the retaining clips or damage the wheel.
Some designs use screws, bolts, or different retaining systems, so follow the correct installation method for your cap.
Retaining clips and tension rings help hold many center caps in place. If these parts are broken, bent, missing, or worn, the cap may not stay secure even when installed correctly.
Remove the cap only if you can do so safely and according to the manufacturer’s instructions. Inspect the back for cracks, missing clips, or a loose retaining ring.
If the retaining parts are damaged, replacing the cap is usually more reliable than trying to force it to stay in place.
4. Confirm That the Replacement Cap Fits the Wheel
A cap can look almost identical to the original and still have the wrong dimensions or mounting design.
Before buying a replacement, check the wheel brand and model, cap measurements, and mounting style. If available, use the original part number to help identify the correct match.
The goal is to match the cap to the actual wheel, not just the vehicle’s make and model.
How to Keep Wheel Center Caps Secure After a Car Wash
A car wash should not normally dislodge a properly fitted, undamaged center cap. However, a loose cap may come off when exposed to water pressure, brushing equipment, or handling during cleaning.
1. Check the Caps Before Washing
Before using a pressure washer or entering an automatic car wash, look at each cap.
If one is already loose, do not assume it will stay in place during cleaning. Check its fit and retaining parts first.
If the cap is cracked or its clips are damaged, replace it before washing.
2. Avoid Direct, Close-Range Pressure on Loose Caps
When using a pressure washer, follow the equipment and vehicle manufacturer’s instructions. Avoid holding the nozzle very close to the edge of a cap, particularly if its mounting condition is uncertain.
A high-pressure stream directed at an edge can put force on a loose component. It is safer to correct the loose fit than to rely on a particular washing angle to keep the cap attached.
3. Use Suitable Wheel Cleaning Products
Use a wheel cleaner that is safe for the wheel and cap finish. Avoid harsh chemicals or abrasive tools that may damage the surface or weaken some materials over time.
Cleaning products are not a fix for loose caps, but good cleaning habits help you spot damage and keep the finish in better condition.
4. Inspect the Caps After Washing
Once the wheels are clean, check that every cap is still sitting evenly.
Look for a cap that has shifted, a gap around its edge, or visible damage. If you notice movement, stop and investigate before driving.
If the cap is secure and undamaged, no special adjustment should be needed just because the vehicle was washed.
What to Do If a Wheel Center Cap Feels Loose
If you can move a cap by hand, do not ignore it. The next step depends on what is causing the movement.
Park safely. Keep the vehicle stationary while inspecting the cap.
Check the fit. Look for gaps, uneven seating, or the wrong cap dimensions.
Inspect the mounting parts. Check the retaining clips, tabs, screws, or tension ring as appropriate.
Clean the mounting area. Remove dirt or debris that may prevent correct seating, following the manufacturer’s guidance.
Reinstall or replace the cap. Use the correct procedure and replace damaged parts.
Get professional help if needed. If the cap still feels loose, have a tire or wheel professional inspect the wheel’s retaining area.
Do not keep pressing a cap into place if it will not seat properly. Forcing it can make the damage worse.
Regular wheel and tire inspections help you spot damage before driving. For broader tire maintenance advice, follow the NHTSA’s tire safety guidance.
Should You Use Glue or Tape to Stop Center Caps From Falling Off?
Glue and tape should not be your first solution. They may hide a fitment problem without correcting it, and they can make later removal difficult or damage the cap’s finish.
First, check the cap’s size, mounting style, and retaining parts. Replace damaged clips or the cap itself when necessary.
Only use an additional retention method if the cap manufacturer specifically approves it for that design. Do not use an improvised adhesive as a substitute for proper fitment.
A securely fitted cap should stay in place because its intended mounting system works correctly.
How to Choose a Replacement That Stays Secure
If a cap has fallen off more than once, buying another one without checking the cause may lead to the same problem.
Before ordering a replacement, confirm these details:
Wheel brand and model: Different wheels can use different caps.
Cap dimensions: Check the required diameter and depth.
Mounting style: Confirm whether the cap uses clips, a ring, screws, bolts, or another system.
Part number: Compare the original part number when available.
Condition of the wheel: Check whether the retaining area is damaged.
Quantity: Confirm whether the listing includes one cap or a set.
You can also review replacement wheel center caps from American Wheels Company and compare their listed specifications before buying.
When Should You Replace a Wheel Center Cap?
Replace a cap when it is cracked, has broken retaining clips, is missing important mounting parts, or cannot stay securely attached despite correct installation.
If the cap looks fine but repeatedly falls off, the wheel’s retaining area or the cap’s dimensions may be the real problem. Have them checked before purchasing another replacement.
Do not replace the wheel automatically just because a cap is loose. A professional inspection can help determine whether the problem is limited to the cap or involves the wheel itself.
Final Thoughts
To keep wheel center caps secure after tire service or a car wash, focus on three things: correct fitment, undamaged retaining parts, and proper installation.
Ask the tire shop to check the caps before you leave, inspect them after washing, and never force a cap that does not fit correctly. If the same cap keeps falling off, investigate the wheel’s mounting area instead of repeatedly buying replacements.
With the right fit and a quick inspection routine, you can reduce the chance of losing another center cap and keep your wheels looking complete.
Frequently Asked Questions
How do I keep wheel center caps from falling off?
Check that the cap matches the wheel, inspect its retaining clips or locking parts, and make sure it is fully seated. After tire service or washing, inspect the cap for movement or damage. Replace damaged parts instead of forcing the cap to stay in place.
Why did my center cap fall off after a tire change?
The cap may have been removed and reinstalled incorrectly, or its clips or retaining ring may have been damaged. The replacement may also be the wrong size. Ask the tire shop to inspect the cap and wheel’s mounting area.
Can a car wash make wheel center caps fall off?
It can dislodge a cap that is already loose or poorly fitted, especially if strong water pressure or brushes contact the cap. A properly fitted, undamaged cap should normally remain secure during routine washing.
Should I check wheel center caps after tire service?
Yes. Check that each cap sits evenly and has no visible damage or movement before leaving the shop. If a cap feels loose, ask the technician to inspect it rather than waiting for it to fall off.
Can I use silicone or glue to hold a loose center cap?
Do not use glue or silicone as your first fix. Find out why the cap is loose, check the fit, and replace damaged retaining parts. Use an extra retention method only if the manufacturer approves it for that cap design.
Why does my replacement center cap keep falling off?
The cap may have the wrong dimensions, an incompatible mounting style, or damaged retaining parts. If a correctly matched replacement repeatedly falls off the same wheel, have the wheel’s retaining area inspected.
Do all wheel center caps fit the same way?
No. Some use snap-in clips, while others use screws, bolts, retaining rings, or different mounting systems. Always follow the installation instructions for the specific cap and wheel.
Is it safe to drive with a loose wheel center cap?
A loose center cap can come off while driving and become a road hazard. Park safely and correct the problem before continuing. If the cap came loose after a hard impact or you notice wheel or tire damage, have the vehicle inspected.